Learning to use the Route tool for an efficient travel path
In the advanced GIS course I’m enrolled in, this week we dove into one of ArcGIS Pro’s Networking tools, Route, using it to help solve the problem of choosing an efficient route between multiple remote testing sites.
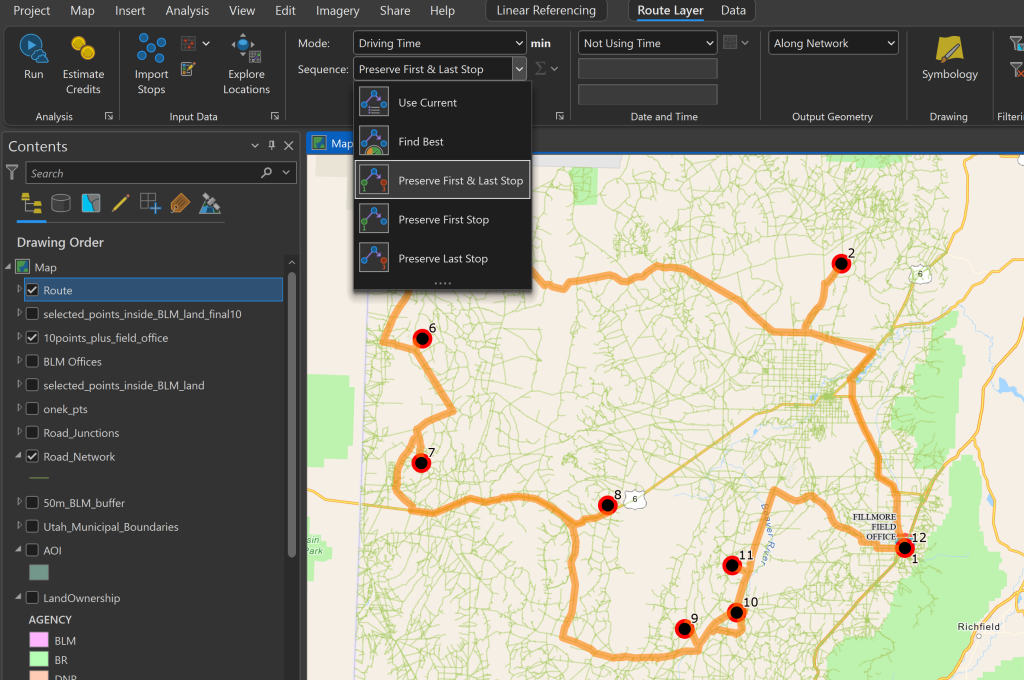
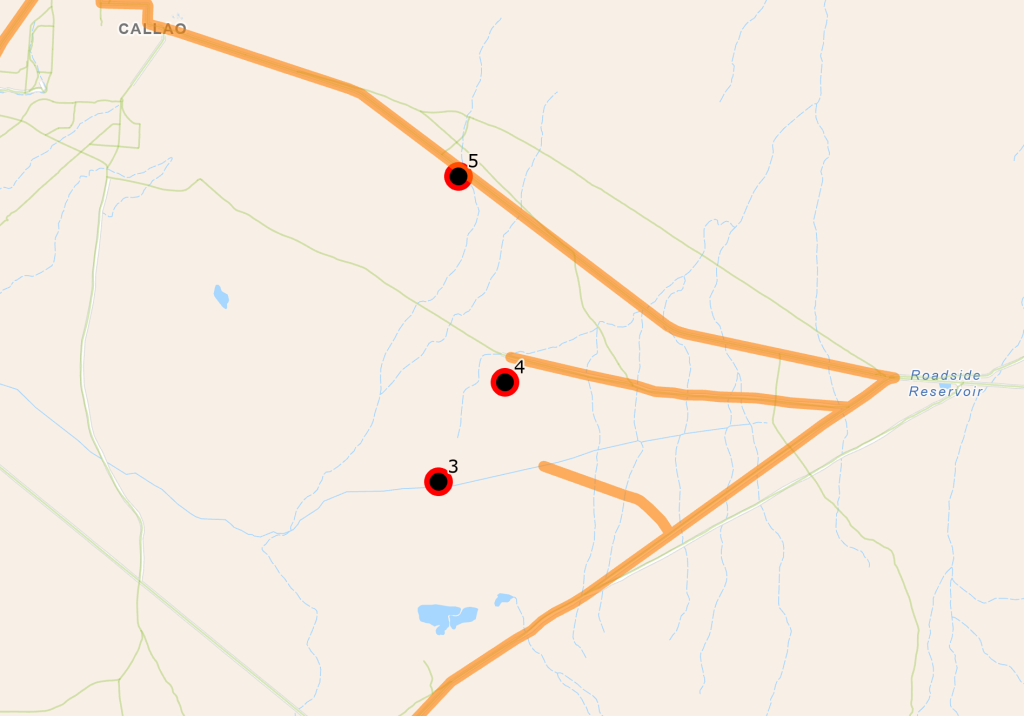
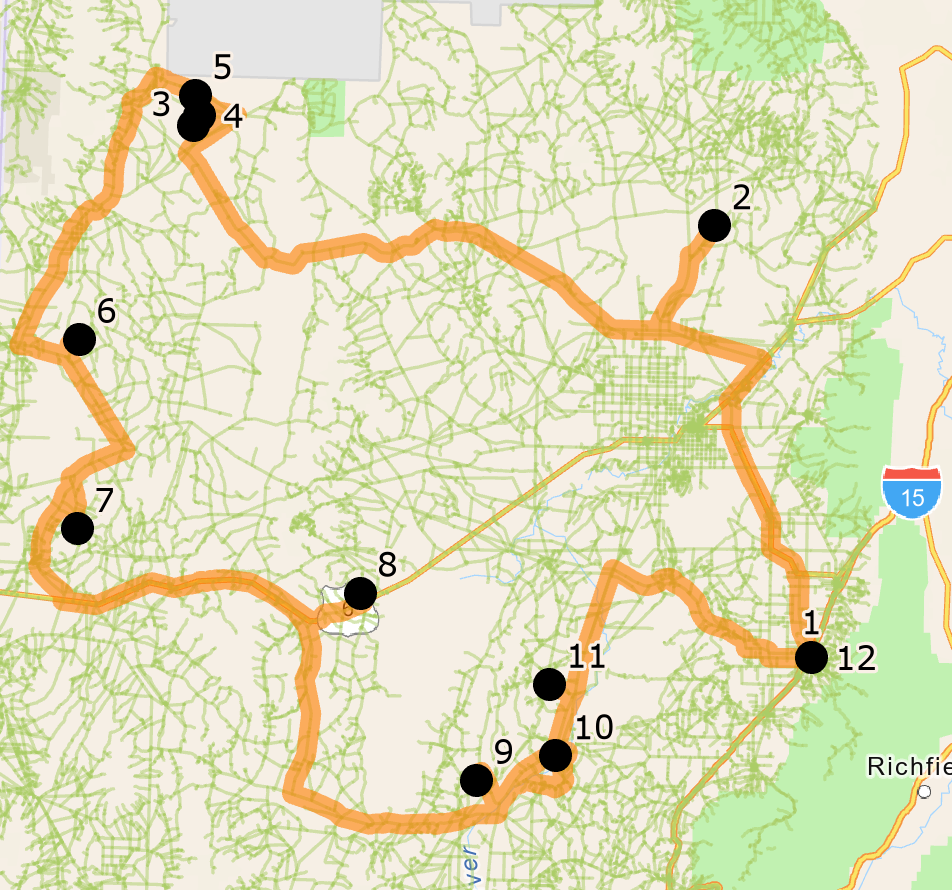
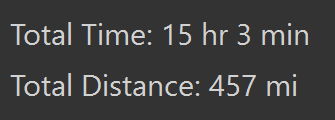
Leaving from the Fillmore Utah BLM Field Office (point #1) below and taking a counterclockwise type route in the specified area, we end up with the following route shown below.
Beyond the Route tool itself, we were able to refresh on a few things and learn some new ones along the way. Listed below are some of the ArcGIS Pro functions we used in the process of the project.
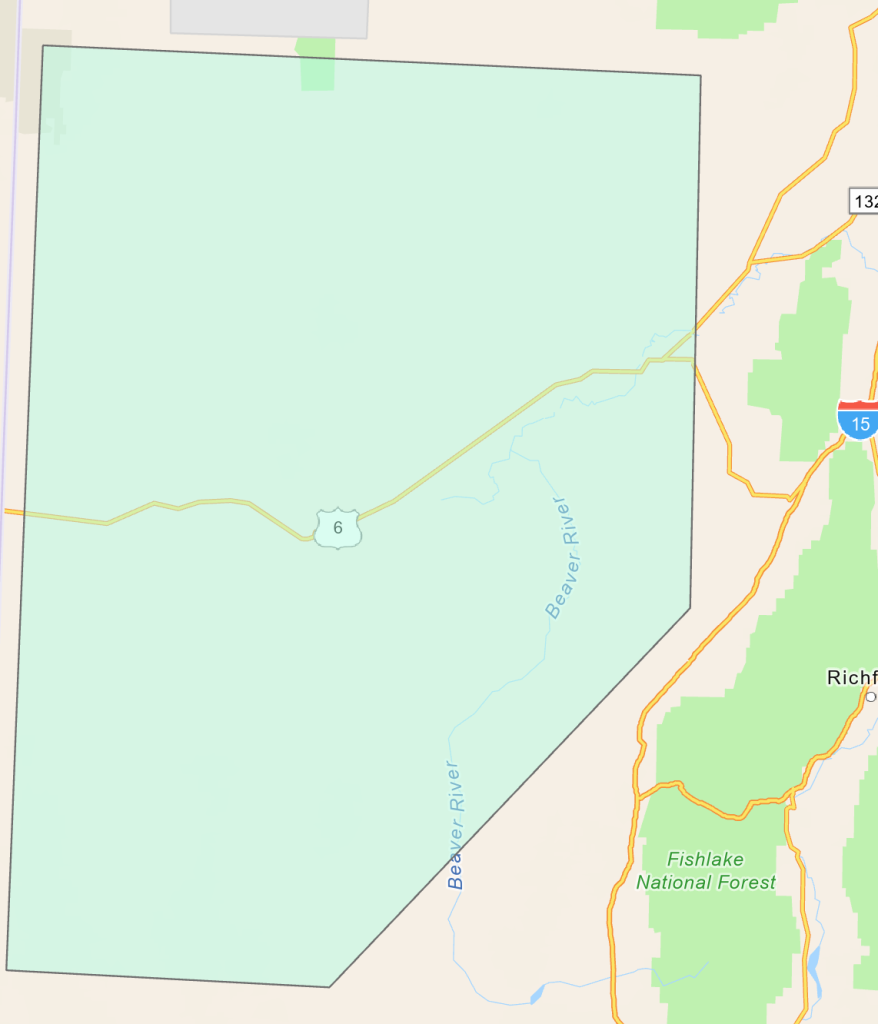
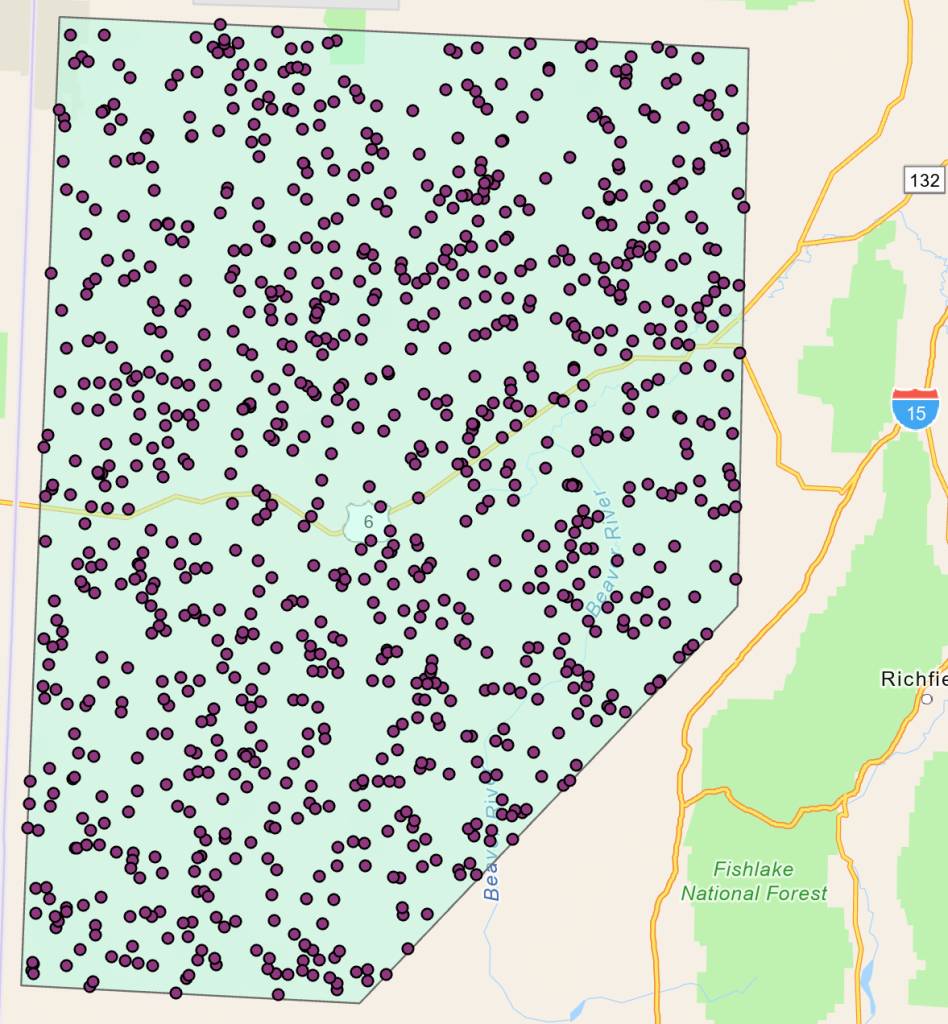
- Create Random Points – used to generate 1000 random points inside of an initial polygon area
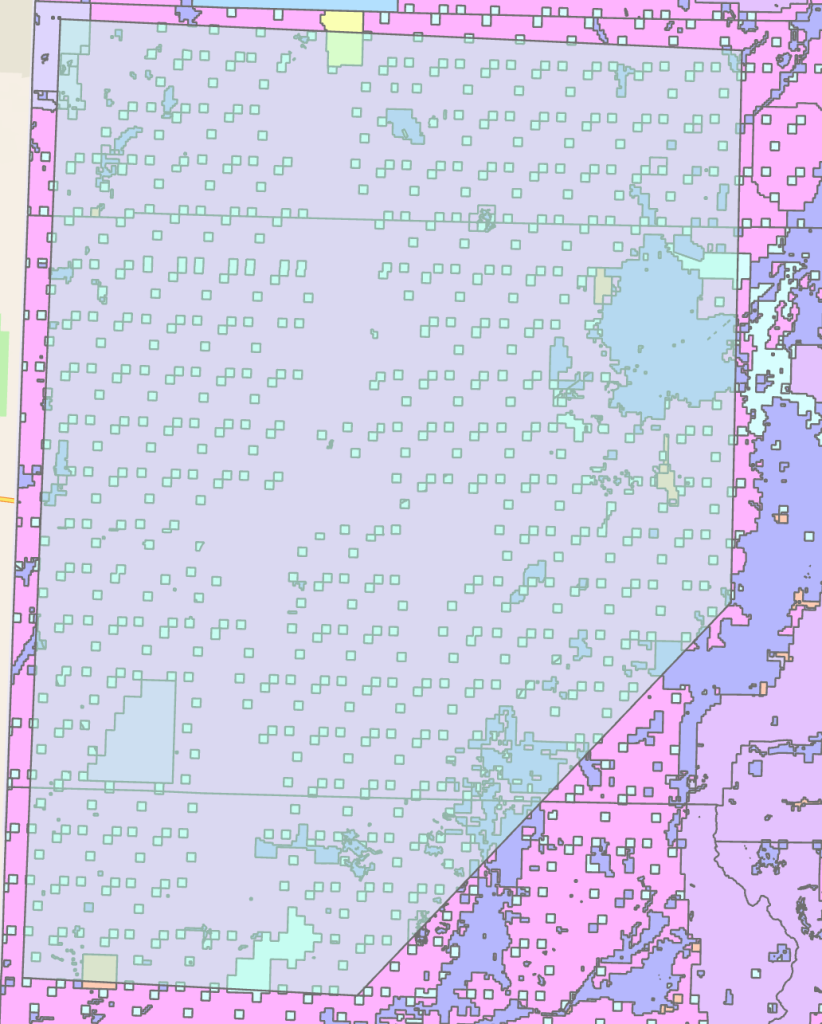
- Select By Attribute – used to select from a dataset of land ownership only those polygons corresponding to BLM (Bureau of Land Management) land.
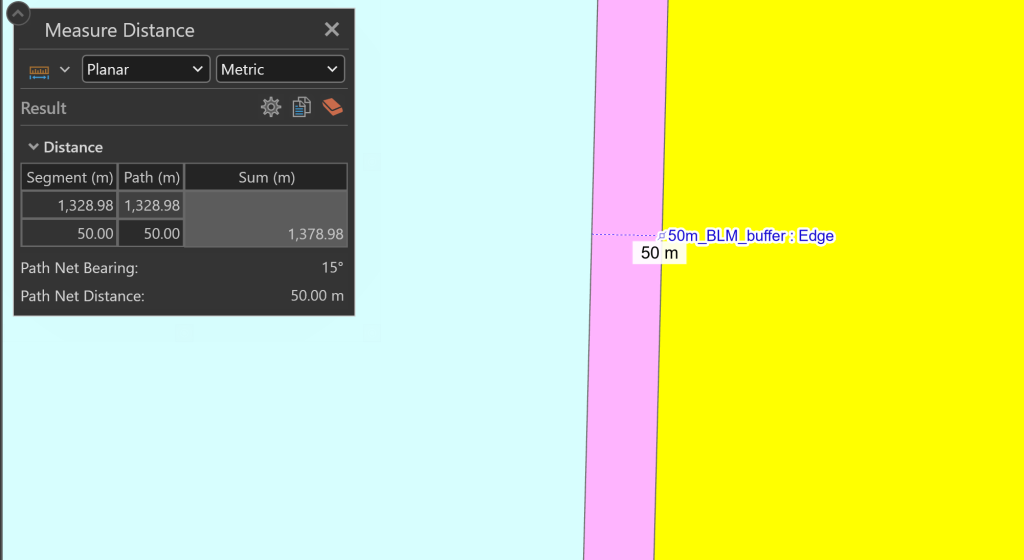
- Pairwise Buffer – used to create a further buffer inside the BLM land to ensure locations selected appropriately reflect the desired land ownership
- Select By Location – used to:
- select the points of the 1000 that fall within BLM land
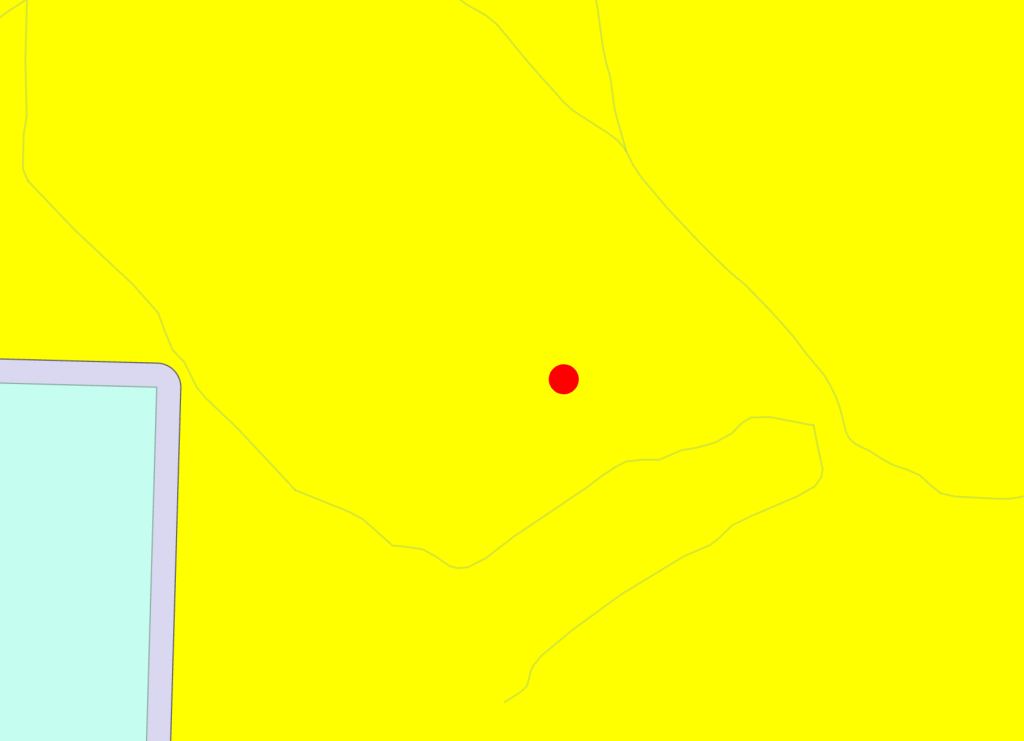
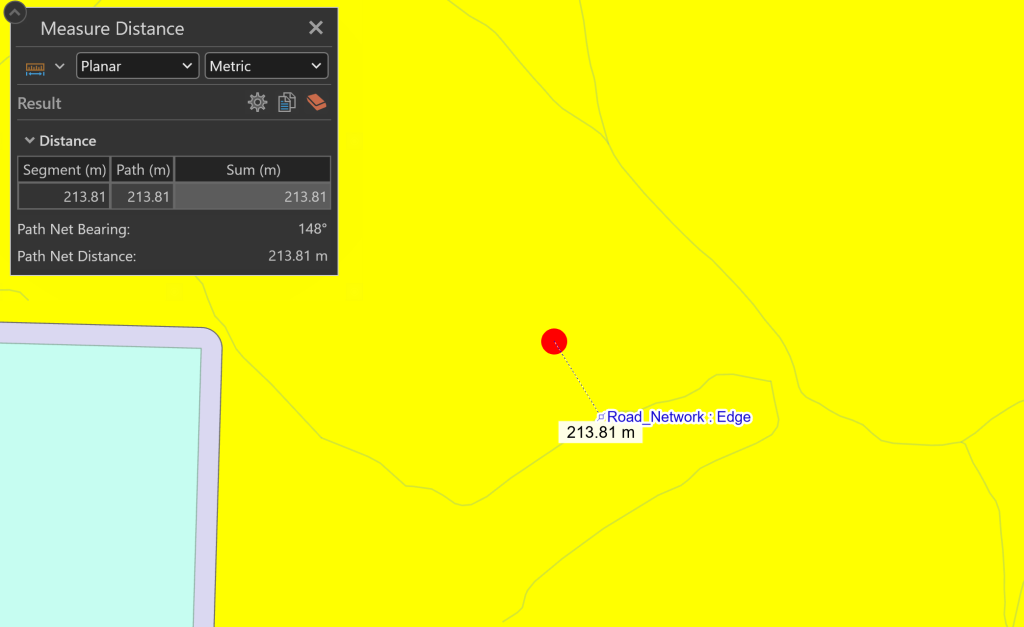
- select the points from the previous step and filter out any that are within 100 meters of a road
- select the points from the previous step and filter out any that are within 1km of a municipality
- Subset Features – Of the points remaining from the prior steps, select 10 points
- Add Data – used to add in the Utah BLM Field Offices in the state of Utah
- Select Fillmore Field Office
- Merge – Fillmore Field Office into the same dataset holding the 10 points we selected with Subset Features
- Additionally edit that dataset in order to add a “return home” point near the Fillmore BLM Field Office
- Edit the dataset which contains the 10 points and the Fillmore Field office and return point to apply a start (1), intermediary stops (2), and ending point (3) to the attribute table
- Route Tool – used to create the shortest possible route between start(1) and ending point(3), ordering intermediary stops (2) as needed.
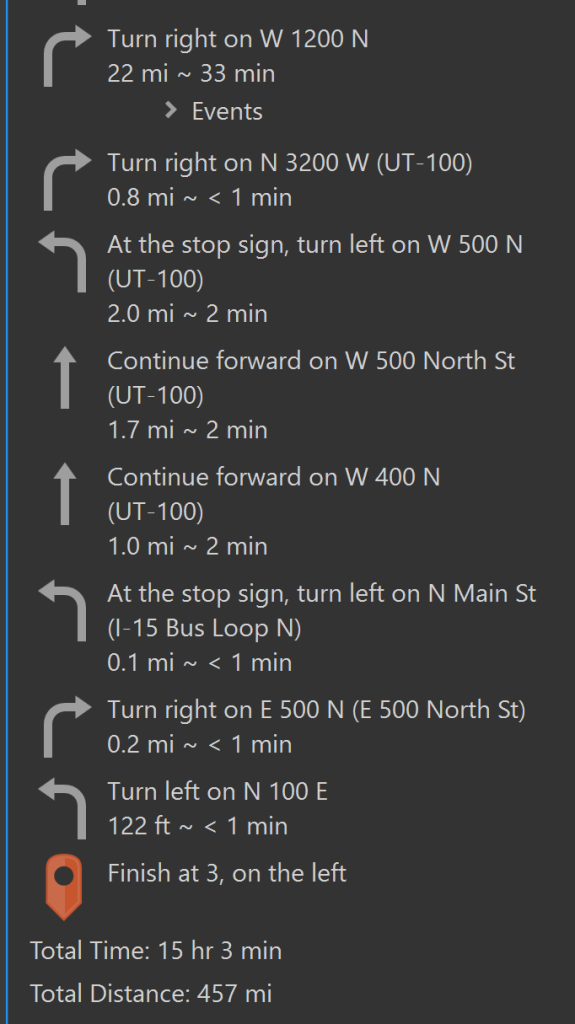
- Show Directions – shows the turn by turn directions to drive the route, similar to many commercial products that give GPS-guided driving directions.
By verifying measurements, attribute table entries, and using common sense techniques, I was able to verify that the steps were completed as needed to leave us with an accurate, viable result for the project’s specifications.